Bag that quilt
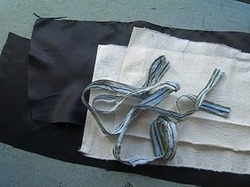
When you're sending a quilt off to a show, it doesn't take long to make a nice drawstring bag for it. Use calico/muslin for the outside, and something slippery for the inside - this is a good use for the lining of those old garments you're recycling (small bits can be pieced together). For drawstrings, you can use those saved selvedges that you tore off the backing fabric - or ribbons, or cords.
First, cover a cardboard tube that's a little longer than your quilt with bubblewrap or calico. (Label the tube with your name, so that it doesn't get lost!) Roll your quilt round it - right side out, to minimise creases.
Measure around the rolled quilt, and from the centre of the roll to the edge of the quilt and back to the centre of the roll. Add 4" (10 cm) to the measurement round the quilt, and 2"(5 cm) to the length measurement, for leeway. Now divide the width measurement in half to get your "cutting size". For this bag my quilt measured 12" round and 16" long, which gave a cutting size of 8" width and 18" length. The two drawstrings each need to be 1.5 - 2 times the measurement round the quilt.
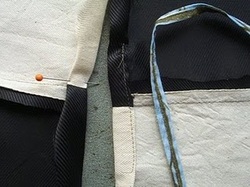
Use half inch (1 cm) seams throughout. First sew the lining to the outside. Then turn in about 1.5" (4 cm) on either side of the join, and sew it down. This is where the drawstrings will come out.
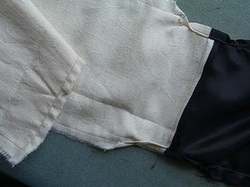
Put the two pieces together and sew the bag part, and the lining part, together, backstitching when you get as close as you can to the bits you've already sewn down. (This is not couture sewing, this is a utility bag - a bit of roughness and fudging is permitted here!)
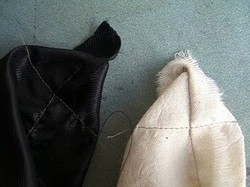
A nice touch, but not strictly necessary, is to square up the bottom corners - match the bottom seam and the side seam, and sew across the corner, then cut off the triangle.
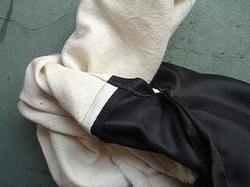
Turn the bag and lining inside out through one of the holes.
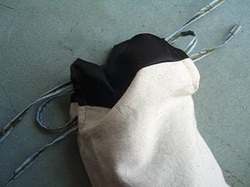
Tuck the lining into the bag, and insert the drawstrings between the lining and the bag.
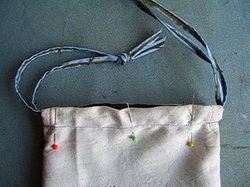
Tie the drawstring ends together. Push the strings as near to the top as you can, and then pin in the clear space below that. Sew each half of the bag, making sure you don't catch the drawstrings in the sewing.
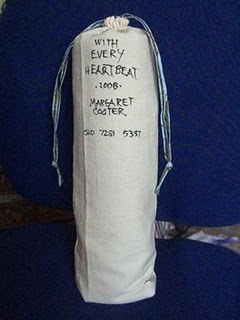
Write your details on the bag with an indelible pen. Add quilt; pull and tie drawstrings; wrap the bagged quilt (in brown paper) ready to mail (don't forget to include the return label). There's no need for tissue paper, or for little ribbons round the quilt that need to be untied - the people at the show who unwrap all those quilts won't thank you for the extra work.
