One-sheet folded book
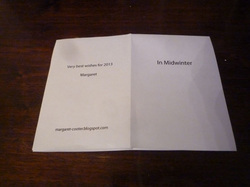
This 8-page book (see examples here) is a useful structure for printing out, once you have pictures and text in the right places - or for emailing as a pdf (with instructions). Made from plain paper, it can be filled with anything. Sometimes it's called a "secret book" because if you unfold it you'll find extra pages "hidden" inside.
These instructions assume you have a sheet of paper that has been printed on one side.
These instructions assume you have a sheet of paper that has been printed on one side.
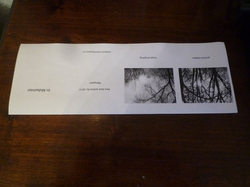
Start with the paper print side down, and fold it in half lengthwise (you'll see the printed area).
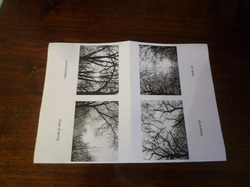
Open it up and fold it in half crosswise. This is the centre (short) fold.
Open it again, and fold each short edge to the centre fold.
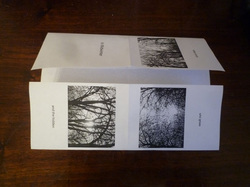
Now you need to make a “hole” in the middle of the paper. It will run along the lengthwise fold (the first fold you made).
To do this, refold along the centre fold, and cut from the fold along the lengthwise fold, to each of the outside folds.
Refold along the lengthwise fold – which now has an empty space in the centre.
To do this, refold along the centre fold, and cut from the fold along the lengthwise fold, to each of the outside folds.
Refold along the lengthwise fold – which now has an empty space in the centre.
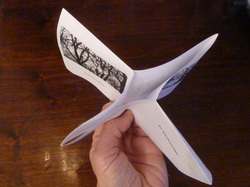
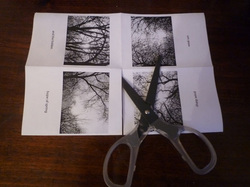
Make the paper into a star shape by bringing the uncut folded edges of the lengthwise fold together till they meet.
Now flatten the star – lay it down on the table, with the title and end pages on top, and firmly crease all the edges.
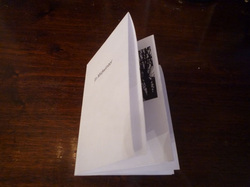
Now pick up the nicely flattened little book and fold it over – voila!
